Docker in React.
Why.
In the fast-paced world of React development, staying efficient and maintaining consistency across environments is crucial. Docker, a containerization platform, offers a powerful solution. Docker allows you to package your React application and its dependencies into portable containers, ensuring consistent deployment and easing development complexity.
In this article, we'll explore how Docker can revolutionize your React development workflow, providing consistency, isolation, portability, and efficiency. Whether you're new to React or an experienced developer, Docker can supercharge your development and deployment process. Let's dive in!
Preparation
To get started, we need a react app and to install docker on our laptop
After installation, we will create a react app. For the first example, I am gonna use create-react-app (I know it is already out of support, but anyway, There are still a lot of projects using it). Now your folder structure should be the same as in the following image.
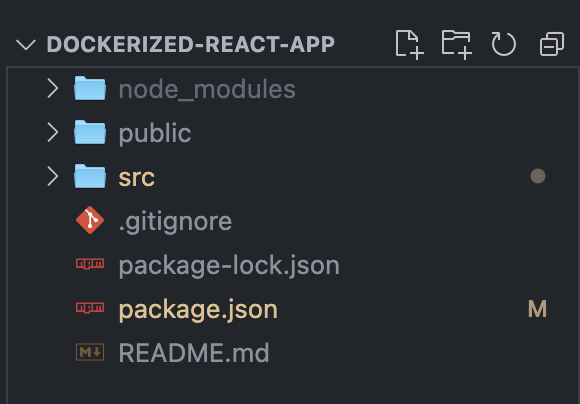
Docker related files
To make the article more like a real project, I am gonna create 3 stages which are test, dev and production. Every stage needs to have its own docker image. To write several docker images we have 2 ways. The first is to create a single file for every stage, and the second is to write all image instructions in one file. After reading a few articles, I am gonna follow to the second way.
Before all, we need to add dockerignore file to our project root folder.
# Include any files or directories that you don't want to be copied to your
# container here (e.g., local build artifacts, temporary files, etc.).
#
# For more help, visit the .dockerignore file reference guide at
# https://docs.docker.com/engine/reference/builder/#dockerignore-file

**/.DS_Store
**/__pycache__
**/.venv
**/.classpath
**/.dockerignore
**/.env
**/.git
**/.gitignore
**/.project
**/.settings
**/.toolstarget
**/.vs
**/.vscode
**/*.*proj.user
**/*.dbmdl
**/*.jfm
**/bin
**/charts
**/docker-compose*
**/compose*
**/Dockerfile*
**/node_modules
**/npm-debug.log
**/obj
**/secrets.dev.yaml
**/values.dev.yaml
LICENSE
README.md
Dev stage
First of all, we need to create a file named Dockerfile (please give attention without any file extension).
FROM node:18-alpine

WORKDIR /usr/src/app

COPY ./package.json .
COPY ./package-lock.json .

RUN npm install

COPY . .

EXPOSE 3000

CMD ["npm", "run", "start-watch"]
If you notice, we added a new script "start-watch". We will add this script to our package.json
"start-watch": "WATCHPACK_POLLING=true react-scripts start"
In the current step, we can run our app with the hot reload feature. To do that, Firstly, we need to build a docker image and run it.
To build a docker image.
docker build -t dockerized-react-app
To run it
docker run -p 3000:3000 -v ./:/usr/src/app:delegated -v /usr/src/app/node_modules/ --name test dockerized-react-app
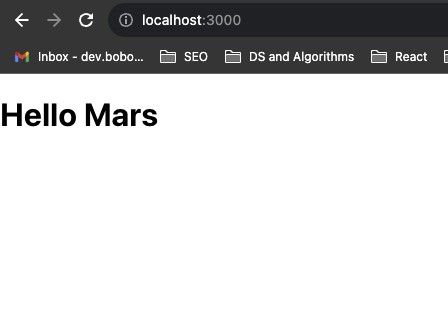
You can check it now, just hit localhost:3000 into the browser, you will see the react default page. (I removed a default page 😃)
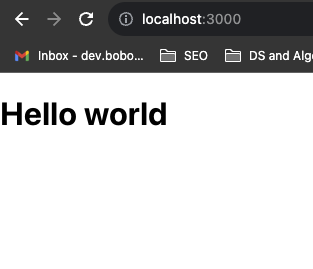
After some changes Hello World > Hello Mars 😅 (without reloading the browser)
Docker-compose
In the previous case, we had only one container handling only the dev stage. To handle the test and production stages we also need two images. Controlling multiple images is tough, that's why we have docker-compose 🤩🤩🤩, yes, yes to handle multiple docker images.
Well, Firstly, we should write docker instructions for all images.
Dockerfile
FROM node:18-alpine as base

WORKDIR /usr/src/app

COPY ./package.json .
COPY ./package-lock.json .

RUN npm install

COPY . .

# --- DEVELOPMENT STAGE ------
FROM base as dev

EXPOSE 3000

CMD ["npm", "run", "start-watch"]

# --- TEST STAGE ----

FROM base as test

CMD ["npm","run", "test"]


# --- PRODUCTION STAGE -----
FROM base as prod

CMD ["npm","run", "build"]
Now, we should create our docker-compose file
docker-compose.yml
version: "3.8"

services:
  dev:
   stdin_open: true
   build:
    context: .
    dockerfile: Dockerfile
    target: dev
   volumes:
     - ./:/usr/src/app:delegated
     - /usr/src/app/node_modules/
   expose:
     - 3000
   ports:
     - 3000:3000

  test:
   build:
    context: .
    dockerfile: Dockerfile
    target: test

  prod:
   build:
    context: .
    dockerfile: Dockerfile
    target: prod
Now, our files should look like this
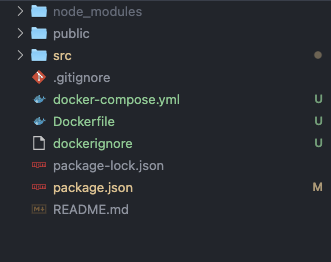
So, let's run our dev stage with the help of docker-compose.
docker compose up dev
After running the command, you will see the same result as before.
To run the test stage
docker compose up test
To run the production (build) stage
docker compose up prod
That's it 🥳🥳🥳
After writing the article, me (😮💨)
Follow me
Twitter (X)